Uploading a VirtualBox VM to an Amazon EC2 AMI
There are many blog posts about uploading a VirtualBox VM image to an AWS AMI. However, many are out of date or only cover part of the process. Below I try to describe the current easiest method to convert your custom VM to an AMI.
Reasons for wanting a custom AMI
As part of improving test coverage, I am looking into using Amazon EC2 to launch snapshots of test slaves. These snapshots will be partially configured (e.g. basic Postgres, redis, and nginx configuration). It would be possible to use a standard Amazon supplied AMI and user data to perform this. However, as I want to have these VMs be as close as possible to our customer installed images, I would prefer to create a local image from our custom install media and then upload it to Amazon.
Initial Investigation
As per AWS documentation, it is possible to upload your own AMIs. However, it seems to mostly focus on VMware and HyperV. For my purposes, I would much prefer to use a simple VirtualBox image.
As the AWS documentation describes it is possible to use VMDK and VHD images, and these are supported by VirtualBox, I decided to dig deeper and found that it was possible to upload these if they are created by VirtualBox.
Steps to achieve it:-
1. Prepare your VM
Create your VM in VirtualBox using the standard methods. The only specific requirement is that your hard disk file type should be VMDK (Virtual Machine Disk).

In this example, I used a dynamically allocated hard disk file of size 16GB. It should be possible to use a fixed hard disk but that would take longer to upload. For a comparison of how much space you can save, in my simple example, the 16GB dynamically allocated VMDK will be exported as a 570MB OVA file.
2.Install your VM
The next step is to install the operating system on your OS and configure any required packages. For Linux, this will include an SSH server and network configured as DHCP. For more details, the Amazon documentation describes the main prerequisites and configuration requirements for VM.
Note: Some posts say you have to installing cloud-init onto the OS. This is recommended but I found that it wasn’t a hard requirement for my needs.
3.Export your VM
Not that we have our VM ready for use, we have to export it. In VirtualBox, select File > Export Appliance. And export your virtual machine as below.
You now have a virtual machine in OVA format which is ready for upload to Amazon for use as an AMI.
Upload your image to S3:-
Create an S3 bucket (in the same region that you will want to run your EC2 instances in). Then upload the previously exported OVA file to that bucket.
Install the AWS CLI
install the AWS CLI tools as described here. I used a python virtual environment to keep the tools separate from my standard Ubuntu install.
My steps were: $ Sudo pip install venv $ mkdir aws $ cd aws $ virtualenv awsvenv $ source awsvenv/bin/activate $ pip install awscli
You now have the AWS CLI installed and you need to configure it to work with your AMI user. You can do this by running
aws configure AWS Access Key ID: [your access id key] AWS Secret Access Key: [your access key secret] Default region name: [your region id e.g. eu-west-1]
Default output format: [text or json]
Create a VM Import Service Role:-
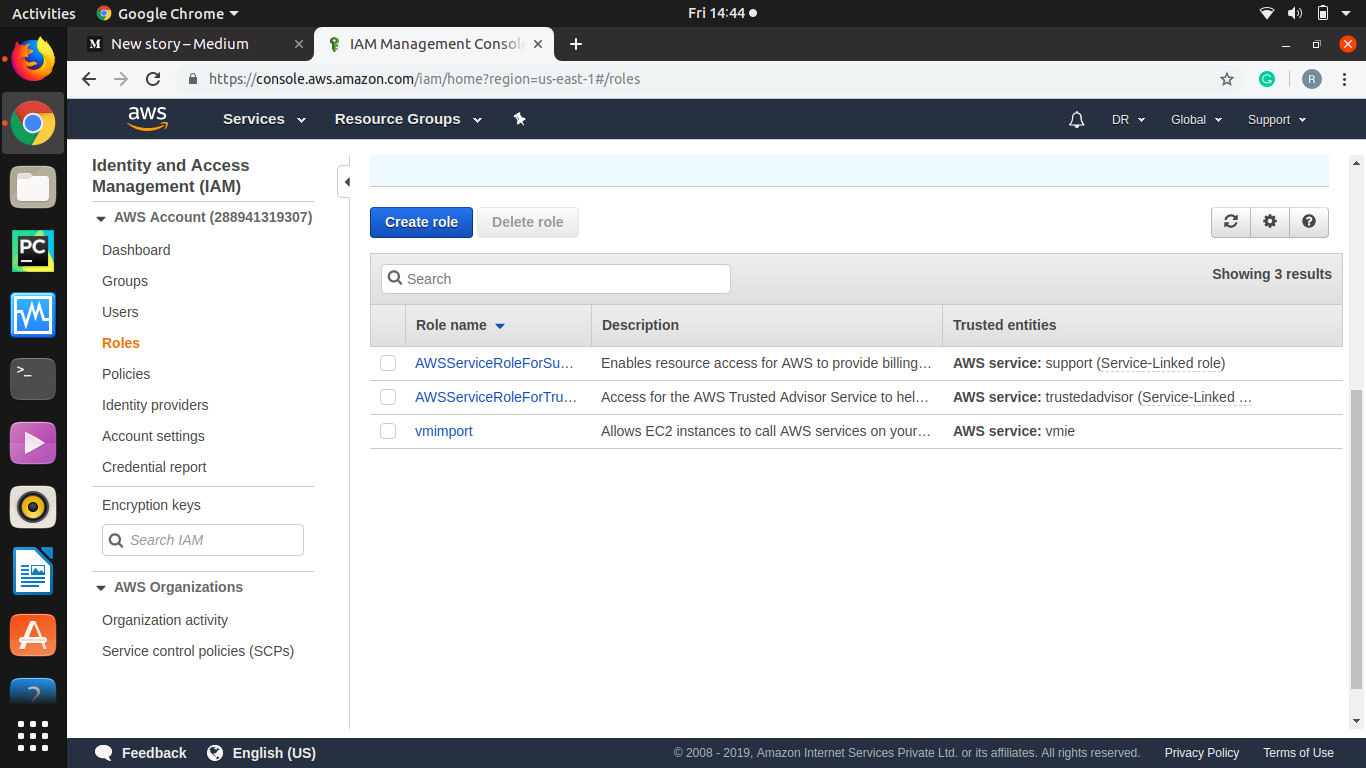


Create a VM Import Service Policy:-


command For VM image import:-


Launch your image:-
Your image has now been uploaded and is available as an AMI. Using the AWS CLI, web interface, or any other tool you can launch a new instance and select your AMI.
Note:-
Used JSON file editor for above Roles
